How To Remove Gel Nails At Home
How To Remove Gel Nails At Home
Gel nails are great because they last longer and are hard to chip. It’s these same properties, however, that make gel nails a pain to remove. While going to a salon to get them professionally taken off is always the best answer, there are times where that’s just not possible. Whether you’re down to your last dollar for the week or it’s the eleventh hour before a big party, sometimes removing your gel nails at home is the only option. If you’re going to go this route, however, it’s best to do so properly. After all, scraping and pulling at the gel to get it off can cause damage. Instead, follow this guide and you’ll be back to your beautiful natural nails in no time at all.
RELATED: How to Do Manicure at Home Like an Expert
RELATED: How To Remove Acrylic Nails At Home
What Are Gel Nails?
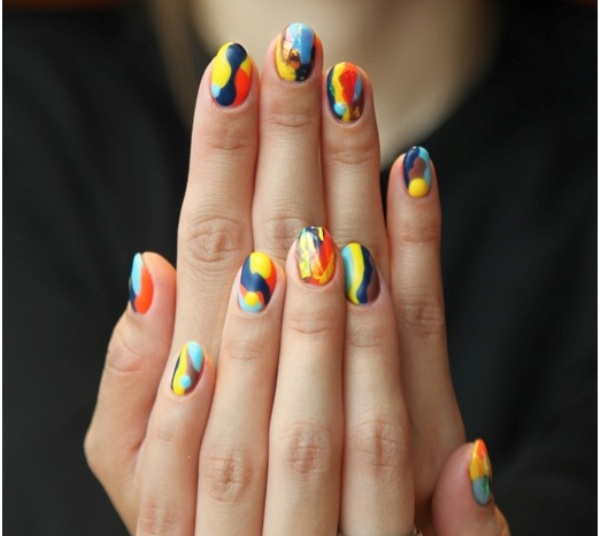
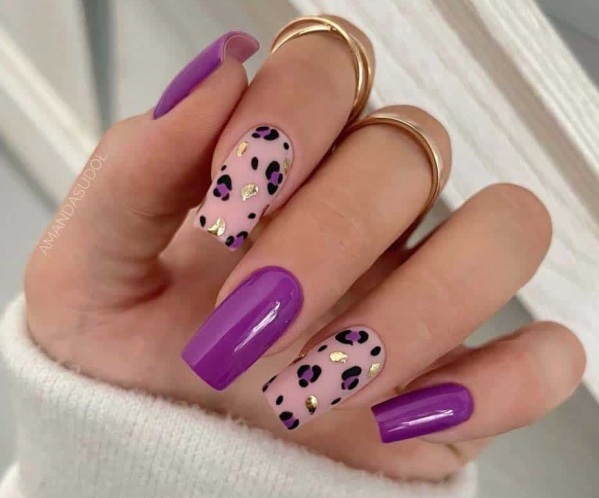
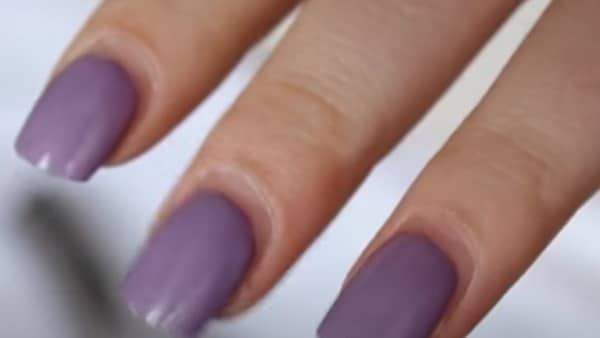
Gel nails are a relatively new type of nail art that differs from both regular polish and acrylics. When it comes to receiving gel nails, you can choose between either hard or soft gel nails. Hard gel nails are similar to acrylic nails; they are applied as nail extensions or artificial nails. Soft gel nails, on the other hand, typically refer to gel polishes. These polishes are applied in a similar way to regular polish and are often offered in manicure services.
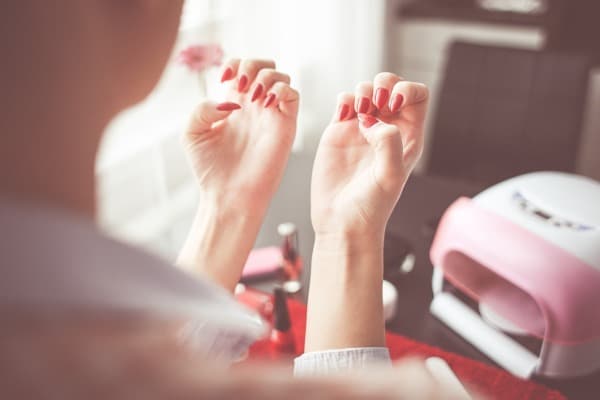
While the process of receiving a soft gel manicure is much the same as that of a standard polish manicure, soft gel nails last much longer and are harder to chip. This is due to the gel’s thick consistency, which is set and made hard by being placed under a UV or LED lamp. Be aware, however, that UV lights can be dangerous to your skin. If your salon uses them, be sure to apply some sunscreen to your hands before getting your nails done. Hard gel nails also require hardening/curing under a UV or LED lamp. Acrylic nails, on the other hand, do not use these lights and are made with a powder dipped in solvent.
While soft ones last much longer than regular polish, they will cost you more. In a salon, you’ll generally pay around $50 for a standard gel manicure. The price can go up quickly, though, if you want any fancy designs. While there are home kits that you can try, going to the salon is generally your best option for quality results. Likewise, hard gel nails tend to cost more than acrylics; however, they also appear more natural and have greater flexibility.
How Long Do Gel Nails Last?
Soft gel nails tend to last much longer than traditional nail polish, which is why they’ve become such a popular option. The standard length of time that you can expect your gel polish to last is 2-3 weeks. This makes it an ideal option for those times when you have multiple upcoming events in the space of a couple of weeks. Unlike traditional polish, gel polish will let you keep your beautiful nail color throughout this time without having to worry about chipping. The exact time they will last, however, depends on the gel used, how it’s applied, and your body chemistry. While home kits can make a convenient option, they won’t last as long as those you would receive in a salon. In general, a home gel manicure will last around 10 days.
Hard gel nails tend to also last around two weeks but this can vary. Although acrylic nails often last longer than hard gel extensions, many ladies still opt for gel because of its appearance.

How to Remove Gel Nails
Removing gel nails can be a tricky process and, if done incorrectly, can weaken your nail beds. It’s always a good idea to get gels removed at the salon, but if you’re short on time or money, you can remove them at home. Just be sure to be extra careful when removing them yourself, so you don’t cause any damage to your nails.
Soft gels shouldn’t be peeled or scraped off aggressively as this will pull layers of your natural nail off too. Instead, by using 100% pure acetone or a dedicated gel remover, they should simply crumble off. Although gel remover tends to be more expensive and harder to find than pure acetone, it is gentler on your nail bed.
RELATED: 20 Cute Summer Nail Designs
Steps for Removing Soft Gel Nails
- Start by buffing the surface of your gels with a coarse nail file. Doing so will break through the clear topcoat applied on top of the gels and allow the acetone to sink in.
- Soak a cotton ball in the acetone and place it on top of your nail.
- Wrap a small square of foil around your nail and the cotton ball.
- Repeat this process for the other nails on that hand.
- Allow your nails to sit. 15 minutes is generally a good amount of time but the process can take shorter or longer depending on the product used.
- Slide the foil and cotton balls off your nails. The gel should be crumbling. If it’s not, you may need to soak your nails for longer.
- Gently push off the remaining gel from your nails using a cuticle pusher.
- After the colored gel is removed, you may be left with some clear residue from where the primer and the first layer meet. Remove this by thoroughly washing your hands and using a 4-sided buffer to smooth it out.
- Once complete, use cuticle oil and moisturizer to rehydrate your nail bed.
- Repeat on the other hand.
Steps for Removing Hard Gel Nails
- Start by using nail clippers to trim your nails.
- File down the surface of your nails using a nail file with 80/80 grit. Be sure to file softly and evenly in cross-hatches while constantly moving the file to new areas.
- As you file, wipe the dust away so you can see when you reach your natural nails.
- Once you can see the ridges of your nail, file the remaining gel with a finer-grit nail file. Work gently and slowly to avoid damaging your natural nails.
- When all the gel is gone, use a buffer to smooth the surface of your nails.
- Apply cuticle oil and nail moisturizer.
How to Make Your Nails Stronger?

When done right, applying and removing shouldn’t damage your natural nails, but the process can sometimes dry them out. Dry nails become weak, and brittle, and experience slower growth, so it’s important to rehydrate and treat nails to keep them strong. Cuticle oil and moisturizer should always be applied to the nail bed after removing gel nails. This will help nails stay healthy and strong as well as prevent hangnails. If you don’t have access to cuticle oil, soaking nails in tea tree oil or massaging them with olive oil will have a similar effect. If your nails are still brittle, consider adding vitamins and supplements like biotin, Vitamin E, and fish oil, to your daily routine and eating more protein-rich foods.
When receiving gel nails, you can also ask your salon about IBX. The pre-gel treatment is applied beneath gels and is designed to strengthen nails and act as a protective shield.