How To Do Manicure At Home Like An Expert
How To Do Manicure At Home Like An Expert
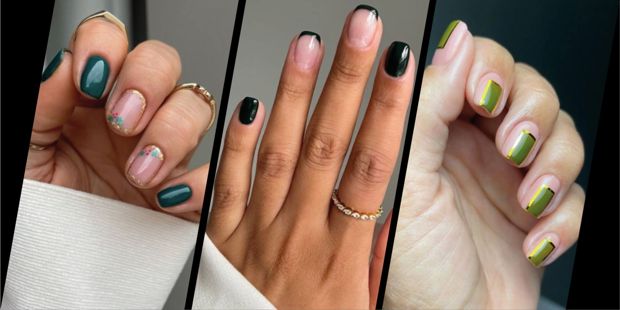
It’s time to take your manicure into your own hands, and it’s never been easier to get salon-quality nail art in the comfort of your home. With the right tools and products – and a bit of patience – you can create a professional-looking result without stepping foot outside. Plus, an at-home manicure gives you a great excuse to relax and unwind.
RELATED: How To Remove Gel Nails At Home
RELATED: The Best Nail Shapes For Your Fingers
Manicure Products You Will Need
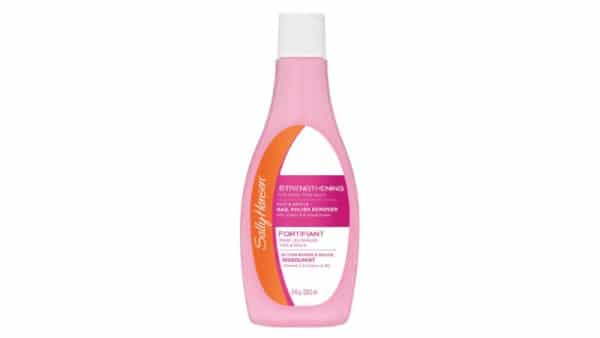
1. Nail Polish Remover
The critical first step in any at-home manicure is ensuring your nails are free of old polish. A nail polish remover will completely dissolve and remove pigment. However, it can over-dry your nails and leave them brittle, so it’s best to work quickly and not use too much.
BUY
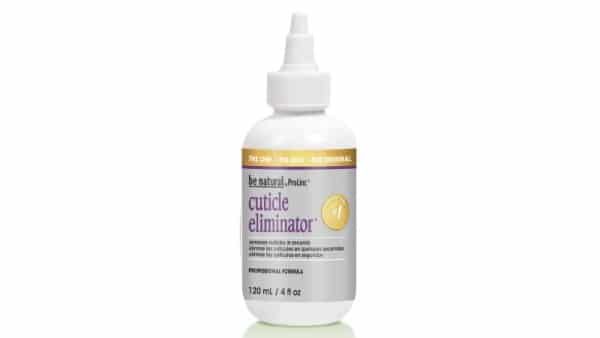
2. Cuticle Remover Liquid
The cuticle is a layer of skin that protects your nail from bacteria as it grows. However, cuticles can quickly become thick and overgrown. Cuticle remover liquid softens and removes dead skin cells from the base of your nail, and makes it easier to clip or push back the cuticle to create a perfect canvas for your manicure.
BUY NOW
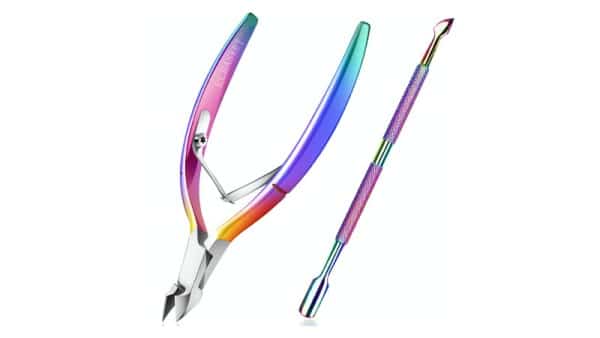
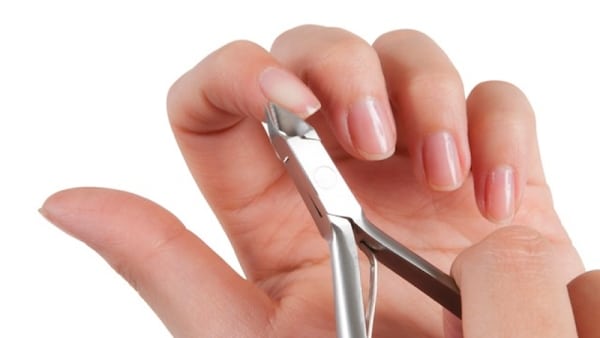
3. Cuticle Cutter or Clippers
Once your cuticles are softened, you can trim them with special clippers, also called cuticle cutters. The pointed, plier-like shape ensures precision in clipping the delicate skin around your nails. Look for steel clippers, as they will retain their sharpness for longer. If you prefer to leave your cuticles intact, use an orange stick or steel cuticle tool to push them back gently.
BUY NOW
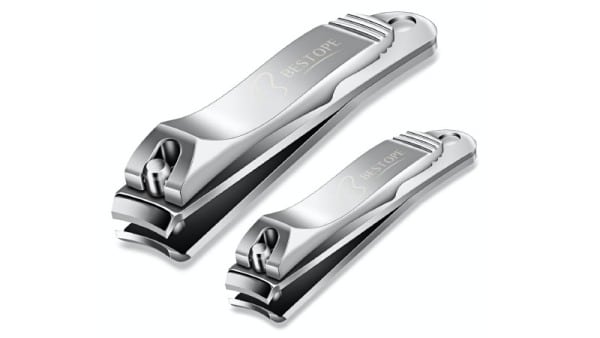
4. Nail Clippers
One of the most critical parts of a manicure is shaping your nails. Use clippers to quickly and precisely shorten your nails and change their shape. Clippers are more comfortable and safer to use than nail scissors and will give you a more consistent result. Choose a set made from stainless steel for extra sharpness.
BUY NOW
5. Nail File
Smooth away any jagged edges and fix an uneven shape with a nail file. While we are all familiar with the classic cardboard version, a professional-quality manicure calls for a salon-standard tool. A crystal nail file – made from a tempered glass alloy – creates a flawless finish with little effort and lasts for years.

BUY NOW
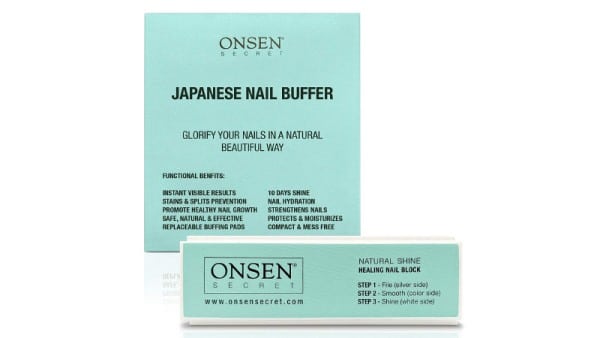
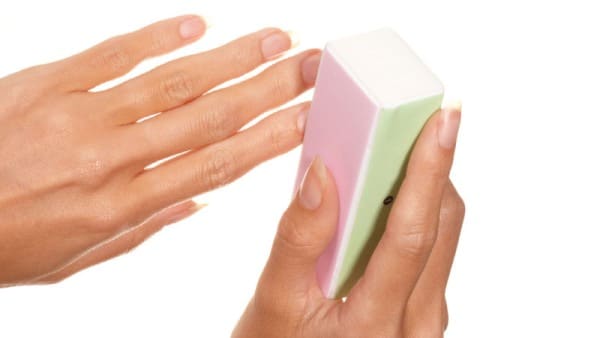
6. Nail Buffer Block
A key component in your manicure is a buffer block, which ensures the surface of your nail is super smooth. Buffing your nails guarantees an even application of your polish and prevents clumping or ripples. It can also remove light staining and other discoloration by buffing away the top layer of the nail.
BUY NOW
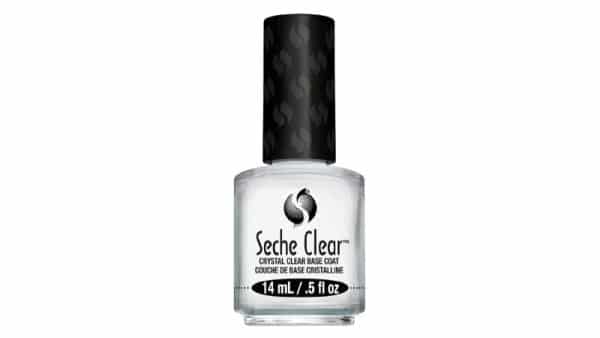
7. Base Coat
Basecoat bonds to the nail and your polish, ensuring the color goes on smoothly and lasts longer without chipping. It also protects your nails from discoloration and damage. Choose a clear base coat that works with both regular and gel polish to give yourself flexibility with your at-home manicure.
BUY NOW
RELATED: 20 Elegant White Nail Designs To Copy
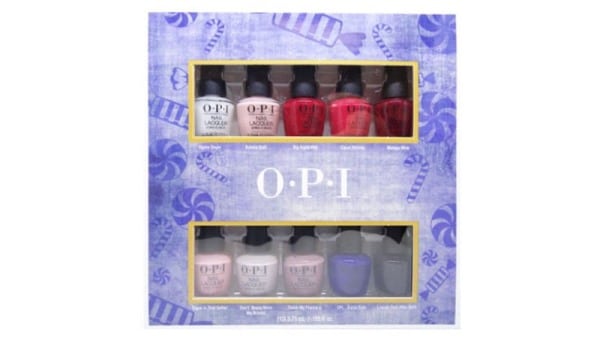
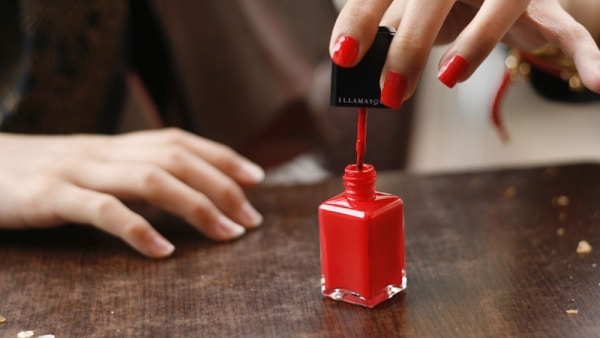
8. Nail Polish
There are many nail polish colors on the market, yet everyone needs a good nude or red color in their collection – they go with every outfit. Alternatively, why not treat yourself to a set of colors to choose from?
BUY NOW
RELATED: 25 Nude Nails Designs To Update Your Look
RELATED: 17 Gorgeous Red Nail Design Ideas
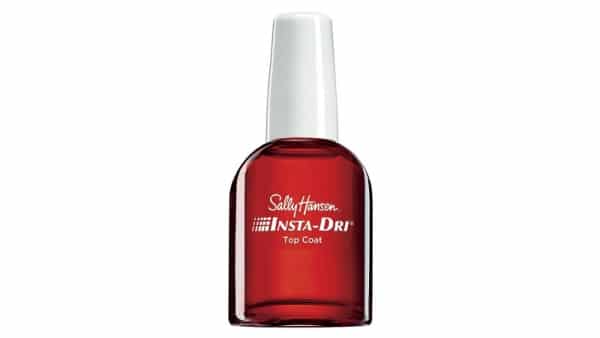
9. Top Coat
The top coat seals in color and prevents chipping while giving your manicure a gorgeous shiny or matte finish. Topcoats often contain acrylics and polymers so that they bond to your nail polish, preventing damage from knocks and friction. Gel topcoats should be cured under a UV lamp like other gel polish, while standard top coats will air-dry in five to ten minutes.
RELATED: How To Remove Acrylic Nails At Home
 BUY
BUY
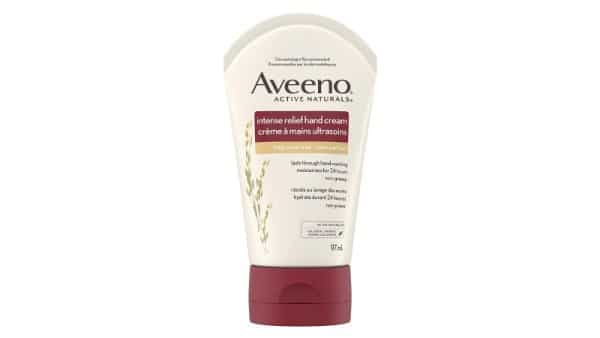
10. Hand Moisturizer
Moisturizing with a hand cream ensures your skin looks as good as your nails! Look for products with rich, soothing ingredients that will leave your mitts super soft and smell great.
BUY
How to Do Manicures at Home
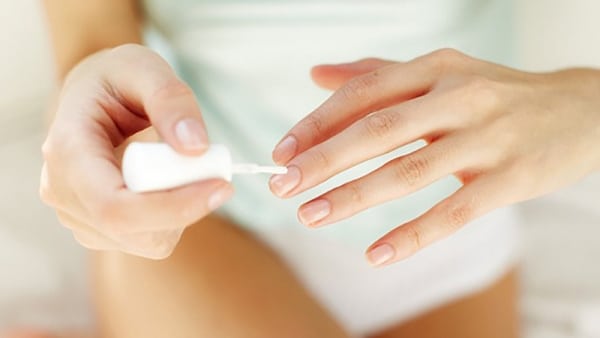
1. Clean Your Nails
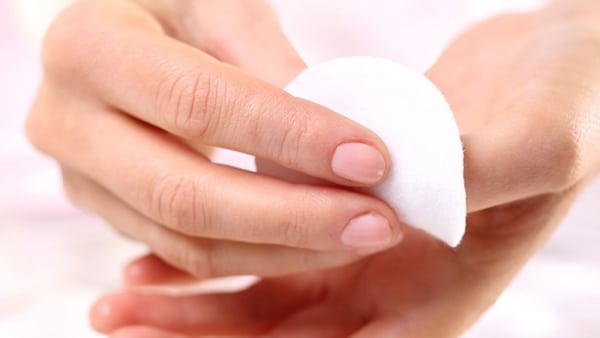
Use a nail polish remover to ensure your nails are prepped for new polish. Using acetone has the advantage of removing natural oils from the nail – ideal for a new coat of polish. Professionals use a cotton ball to dab the remover onto each nail, then go back and swipe it away. If you’re removing old gel polish, you will need to soak your nails in the acetone solution for 10 minutes before scraping and lifting off the coating.
2. Remove Cuticles
Most professional manicurists remove the cuticle to ensure a clean nail ‘canvas.’ Apply a dab of cuticle remover liquid and massage it for 30 seconds. Then use clippers or cutters to remove the dead skin gently. If you prefer not to cut your cuticles, apply the remover liquid, and then use an orange stick to push the cuticle back. While you won’t get the same clean result, it is healthier for the nail bed.
3. Clip, File, and Buff
Choose a nail shape that complements your fingers and works with your nail’s natural growth pattern. There are five main shapes: square, rounded, oval, almond, and coffin. Take into account your finger shape, nail bed width, and length of your nails, then use clippers and a nail file to achieve your desired shape. Then, for a truly professional finish, even out your nail surface with a buffing block. Doing so ensures your nail polish goes on smoothly and evenly.
4. Wash and Dry Your Hands
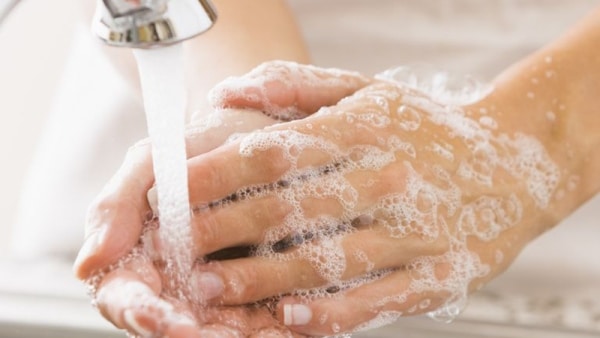
Wash your hands with water to remove nail filings, dead skin, any remaining acetone, and excess dirt or oil. Once dried, you will be able to assess the shape of your nails and determine if they are even. If needed, you can go back and re-file your nails to clean up any mistakes. Avoid washing your hands with soap if you are doing a gel manicure.
5. Moisturize Hands and Swipe Nails with Nail Polish Remover
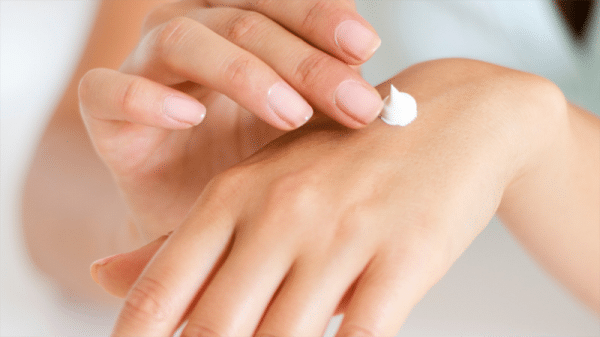
To ensure your hands don’t dry out from soap, water, and acetone, apply a hand moisturizer. This point is a great time to give yourself a mini hand massage, releasing tension and working the nourishing moisturizer into your skin. It’s an essential step if you have naturally dry skin or have been exposed to artificial heating or air conditioning. Once your hands are super soft and hydrated, use a cotton tip to swipe a little nail polish remover over each nail to ensure no oils remain on the surface.
6. Apply Base Coat
The base coat is a necessary step in any manicure. That’s because the base coat not only ensures a smooth application of your nail color and prevents chipping, but also protects your nails from discoloration. Base coats contain plasticizers and cellulose to make them flexible and ‘sticky’ – they bond not only to your nail but to the pigment in the polish above. Using a base coat ensures a long-lasting manicure as well as healthy nails. Experts recommend leaving your base coat to air-dry for two minutes; a gel base coat should be cured under a UV lamp for the same period.
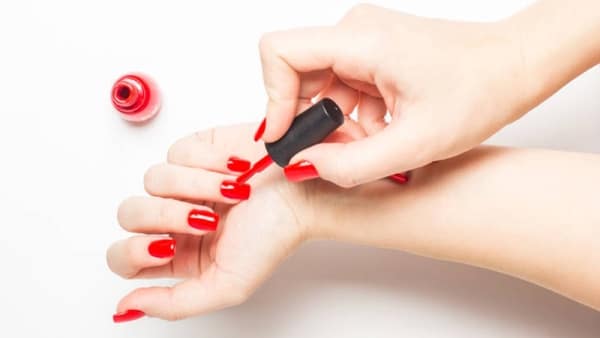
7. Apply First Coat
Finally, you’re ready to apply your nail color. The trick to a professional-looking manicure is in a thin first coat, so don’t overload your brush. Ensure your whole nail is coated evenly by using the ‘three stripes’ technique – one stripe down the center, then one on each side. Too many swipes will make your nail polish uneven, so be careful and deliberate. Then set your phone timer for two minutes and wait. If using gel polish, ensure none has been painted on your skin or cuticles, then cure under a UV lamp for two minutes.
8. Apply the Second Coat
After waiting two full minutes for your first coat to dry, apply another coat of polish. Experts recommend following the same principles with your second coat as with the first – a thin, even layer that gradually builds up the color. Two coats are ideal for most nail shades, although you may need to apply a third coat for pastel or sheer polish. Wait two more minutes for the second coat to dry or, if using gel polish, cure it under a UV lamp.
9. Apply Top Coat
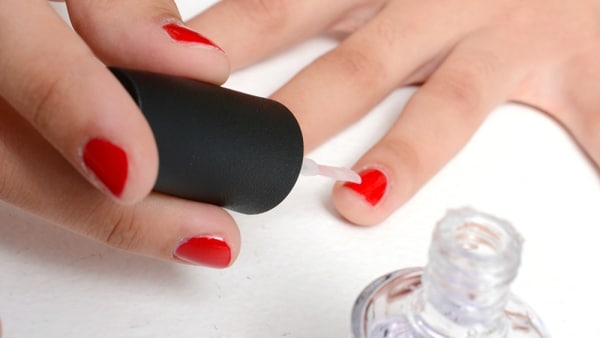
A topcoat puts the finishing touch on your manicure. Applying it will prevent your polish from chipping and adds a beautiful high-shine look. There are also matte and quick-drying topcoat formulas on the market. Whichever type you choose, apply your topcoat in a thin and precise layer that covers the whole nail. If using a gel top coat, cure it under UV for another two minutes.
10. Tidy Up and Let it Dry
The final step in creating a salon-quality manicure at home is tidying up any mistakes. Use a cotton pad soaked in nail polish remover and folds it to create a more precise shape. Then drag it around your nail to get rid of any excess nail color. You can then sit back and let your manicure finish drying – experts recommend waiting at least five minutes. For gel manicures, the final topcoat cure will seal in your polish – meaning there’s no waiting for it to dry. Instead, take a little rubbing alcohol on a cotton pad and rub each nail. Doing so will remove the ‘tacky’ film that forms after curing, leaving your manicure perfectly smooth and shiny.